 Garden Planner
Upload your photo, explore garden design styles, and compare the before and after views before refining your idea.
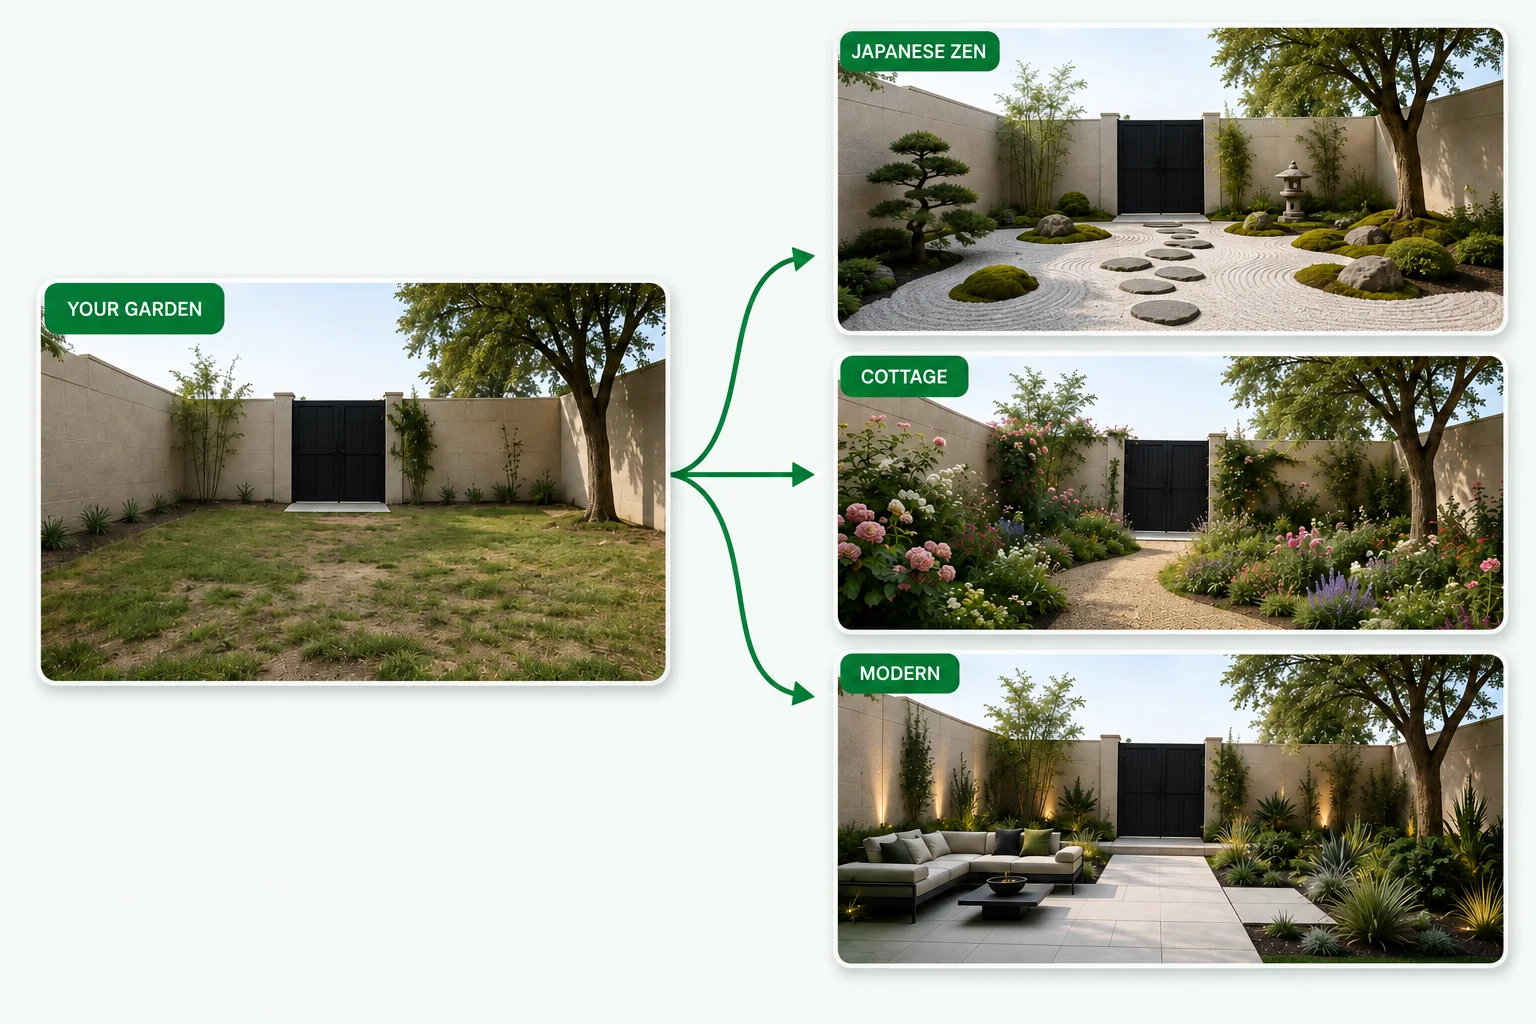
Upload a garden photo, choose a style, and refine the result in three simple steps.
Start your garden design with a clear photo of the planting areas, paths, boundaries, and nearby house. A view taken from a doorway or terrace often gives useful context. Choose JPG, JPEG, PNG, or WebP, up to 16 MB.
For garden design, first select the space type. Then choose a style such as English Cottage, Modern, or Japanese Zen. Adjust the planting density and add a short description of your priorities.
Generate a garden design preview and compare it with the starting image. Look at the overall balance before focusing on individual details. Try another style if the mood feels wrong, or use the editor to describe an adjustment or remove a selected object.
See planting, paths, and existing features together before you choose a direction.
In garden design, a flower border can look lovely on its own yet feel disconnected from the rest of the space. Photo-based garden design lets you consider the planting alongside the route to the door, the fence behind it, and the place you want to sit. Use the preview to judge whether the arrangement feels connected.
An English Cottage direction can suggest generous planting and a softer atmosphere. Modern or Minimalist styles can create a more restrained impression. Japanese Zen offers another way to explore balance and open space. Comparing those garden design directions on your own photo makes the differences easier to understand.
More planting is not always the answer. A dense border may create the enclosed feeling you want, while a lighter arrangement can leave a small space feeling more open. For garden design, the vegetation settings help you explore that balance. Try a moderate version before a lush one and compare how much of the path, wall, and seating area remains visible.
Garden design choices can divide opinion. One person may picture a flowering retreat; another wants a clear path and tidy edge. A garden design preview puts those preferences into a form you can both discuss. That conversation can produce a more useful brief than a folder of disconnected photographs.
Use photo-based controls to shape the style, planting density, and details of your garden concept.
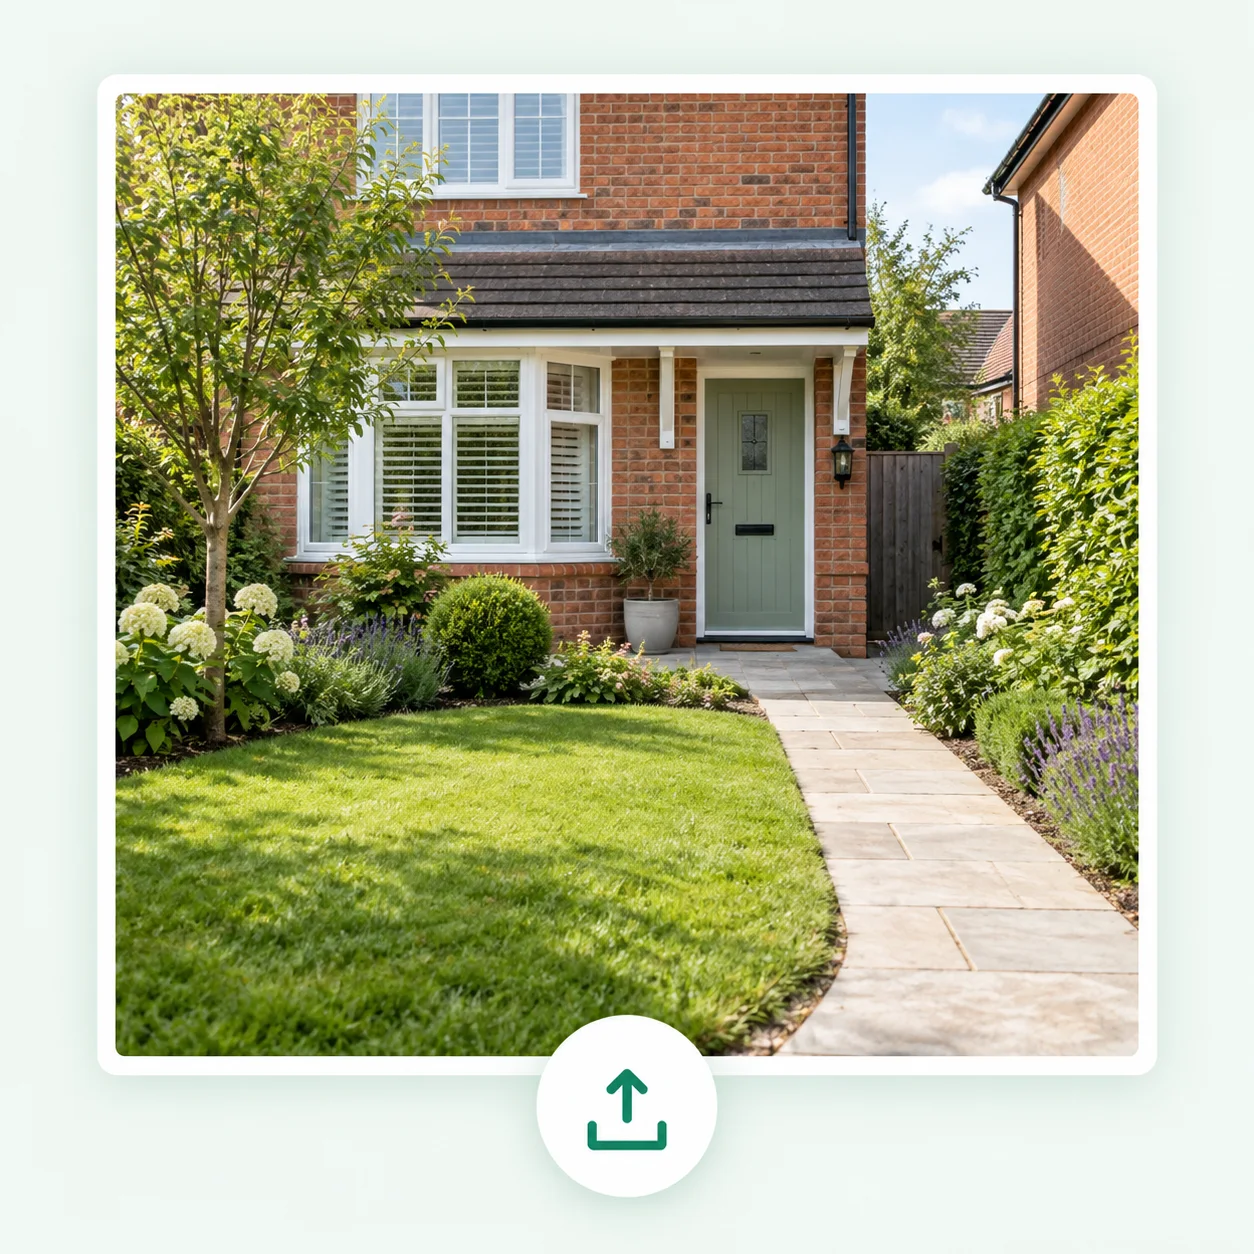
The garden design tool begins with your photo. The visible house, boundaries, and garden features give the new concept context. Include important features in the photograph and mention them in your prompt.
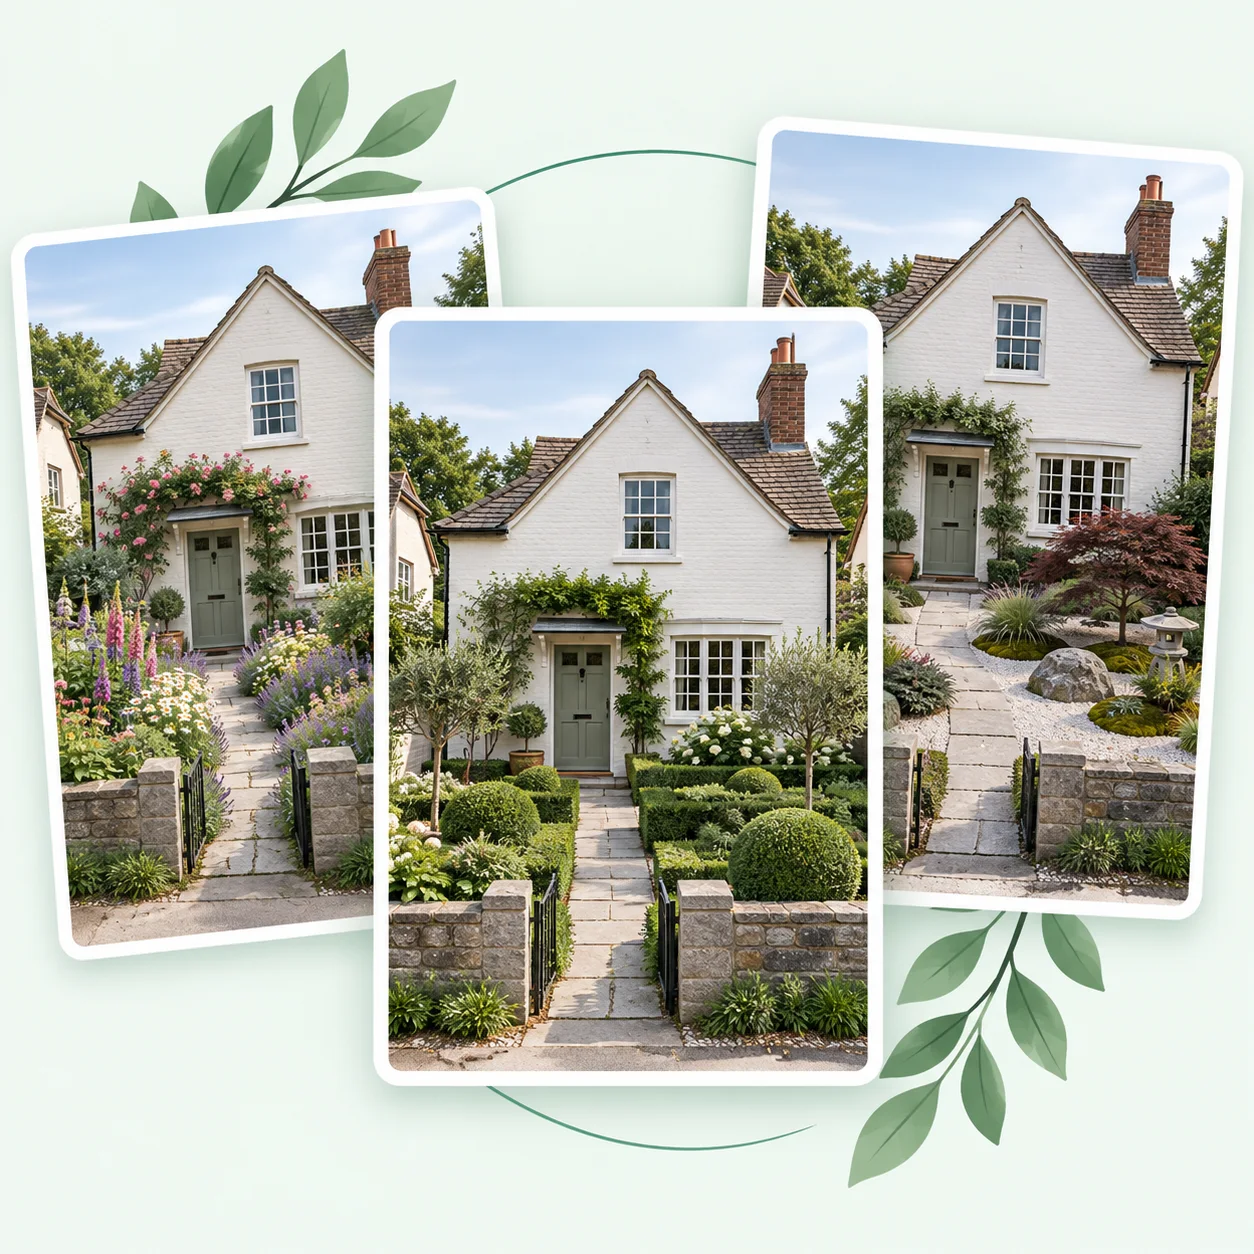
Start the garden design with an available style, or use Auto for an initial direction. You can also add a reference image to help communicate the appearance you have in mind. A reference is useful when words such as warm, formal, or natural feel too broad.
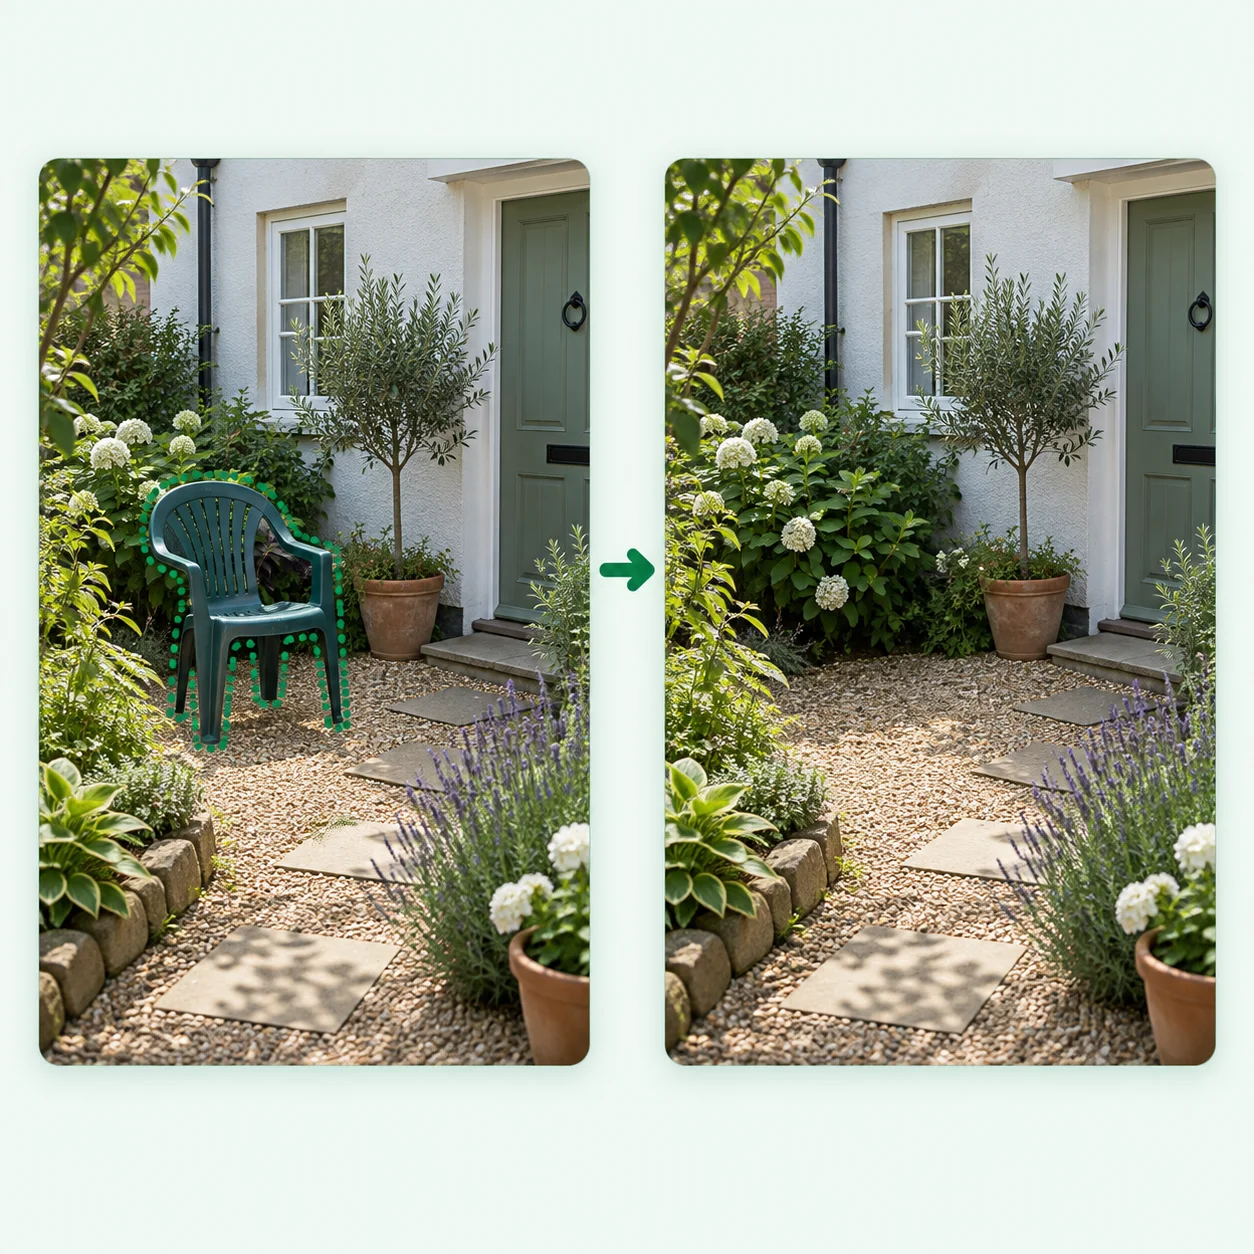
An appealing garden design may still contain a detail you want to change. Use the text editing workflow to describe the adjustment. For unwanted objects, select the relevant area in Remove and review the generated result.
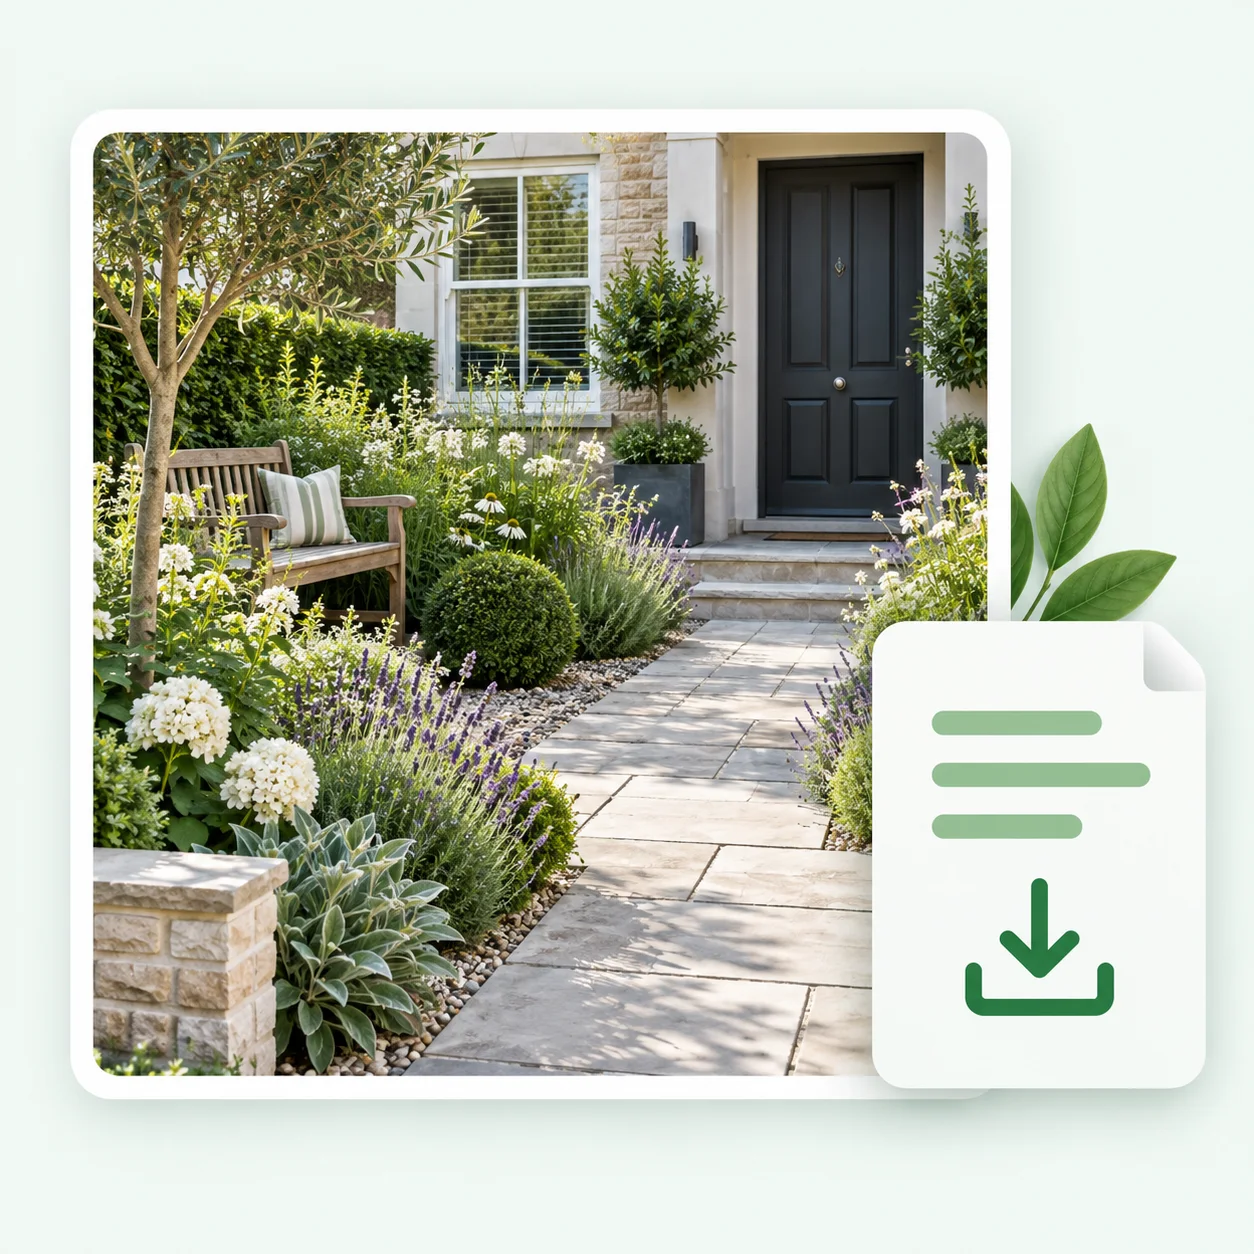
Download the images that best express your intention. Recent history can help you revisit work, but saving important results yourself gives you a dependable reference for later discussions. Add your own notes about what you like: the open center, the planting beside the fence, or the relationship between the path and bench.
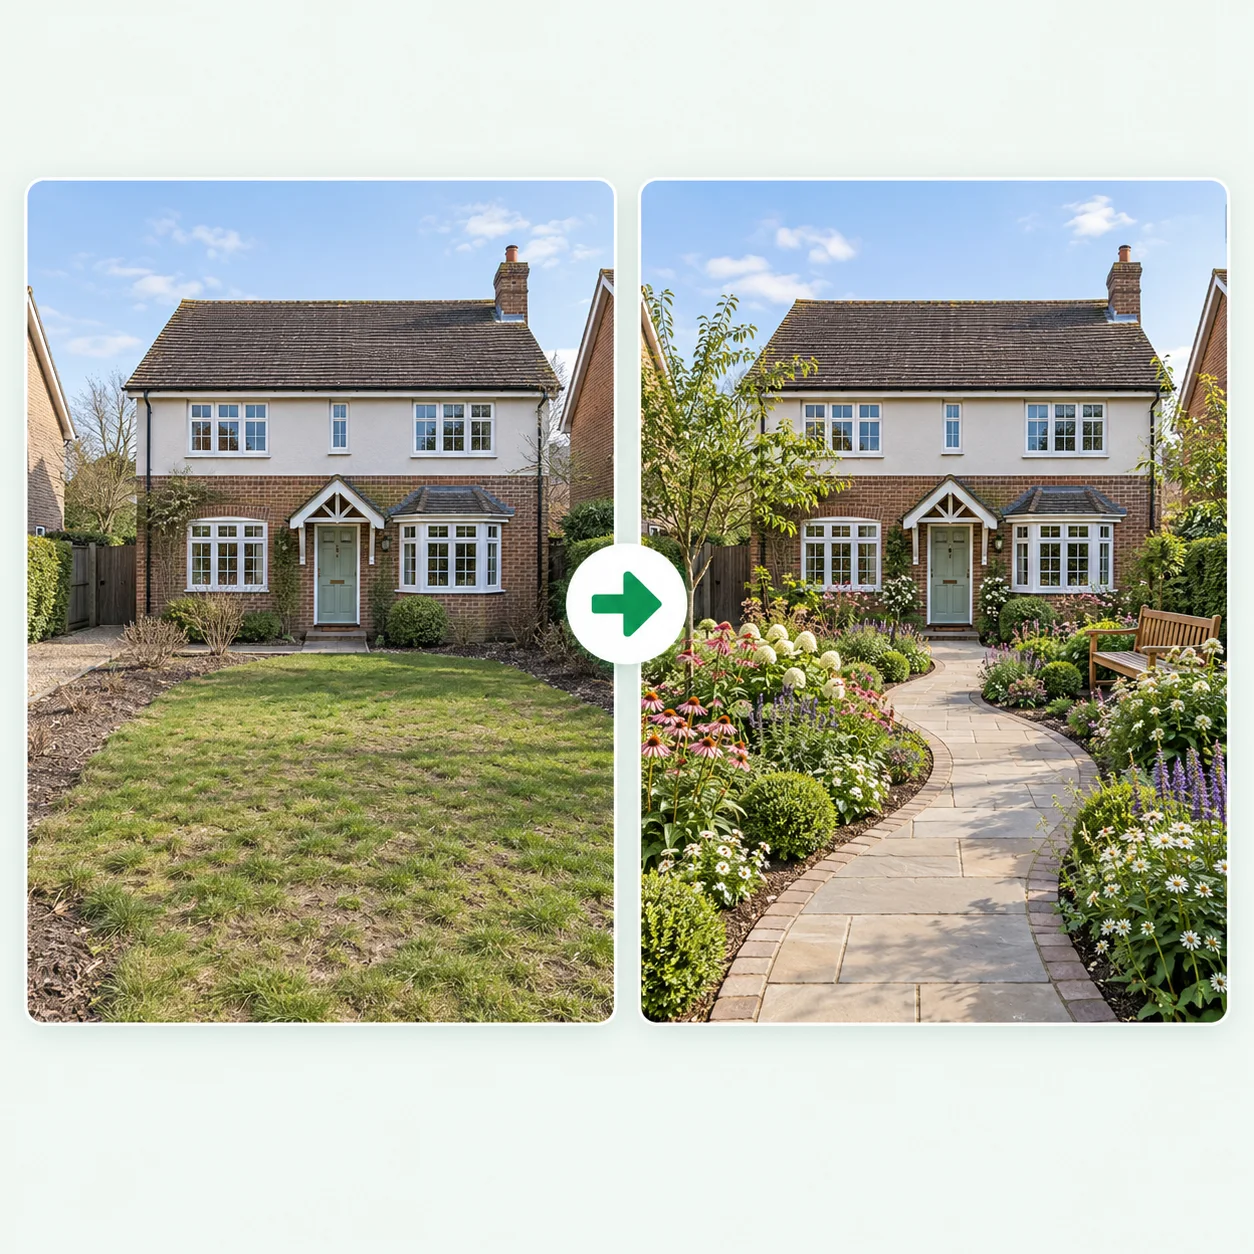
Keep the original photo beside the new concept. The comparison shows whether paths, planting, and key garden features still relate to the real space. Start your garden design comparison with the path and planting edges. Look for a clear route through the space. Then check whether new borders leave the bench visible and the garden easy to move through.
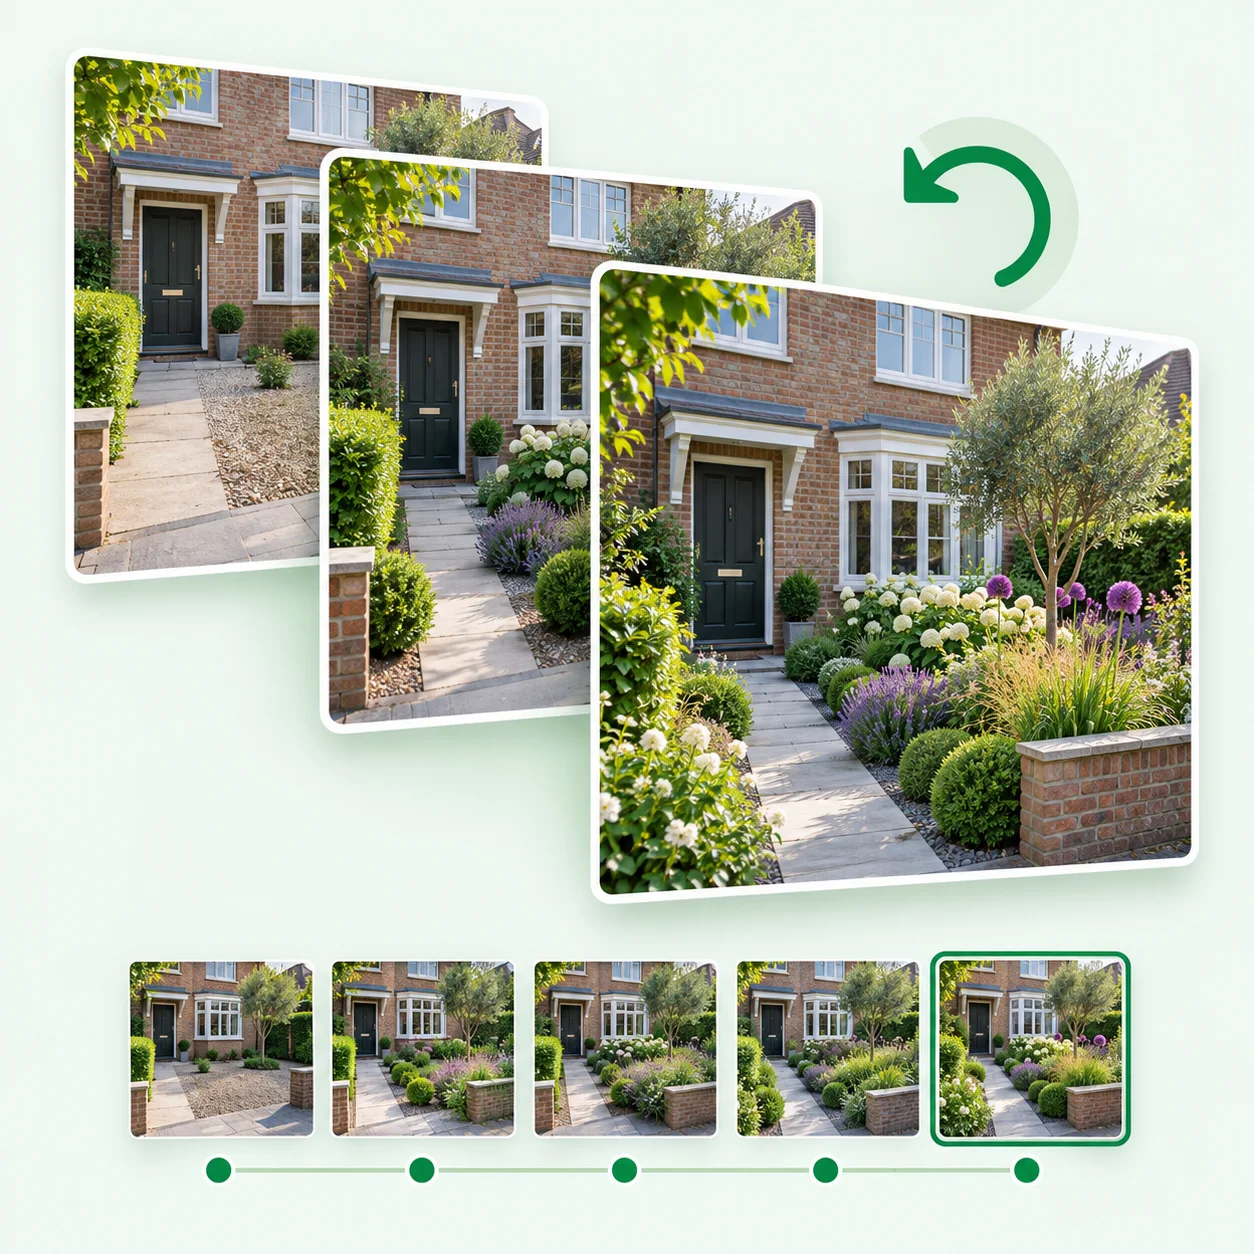
Download useful concepts for later discussion. Recent history also lets you revisit several versions before choosing the garden idea you want to develop.
Explore garden ideas for small spaces, front entrances, established gardens, and early project briefs.
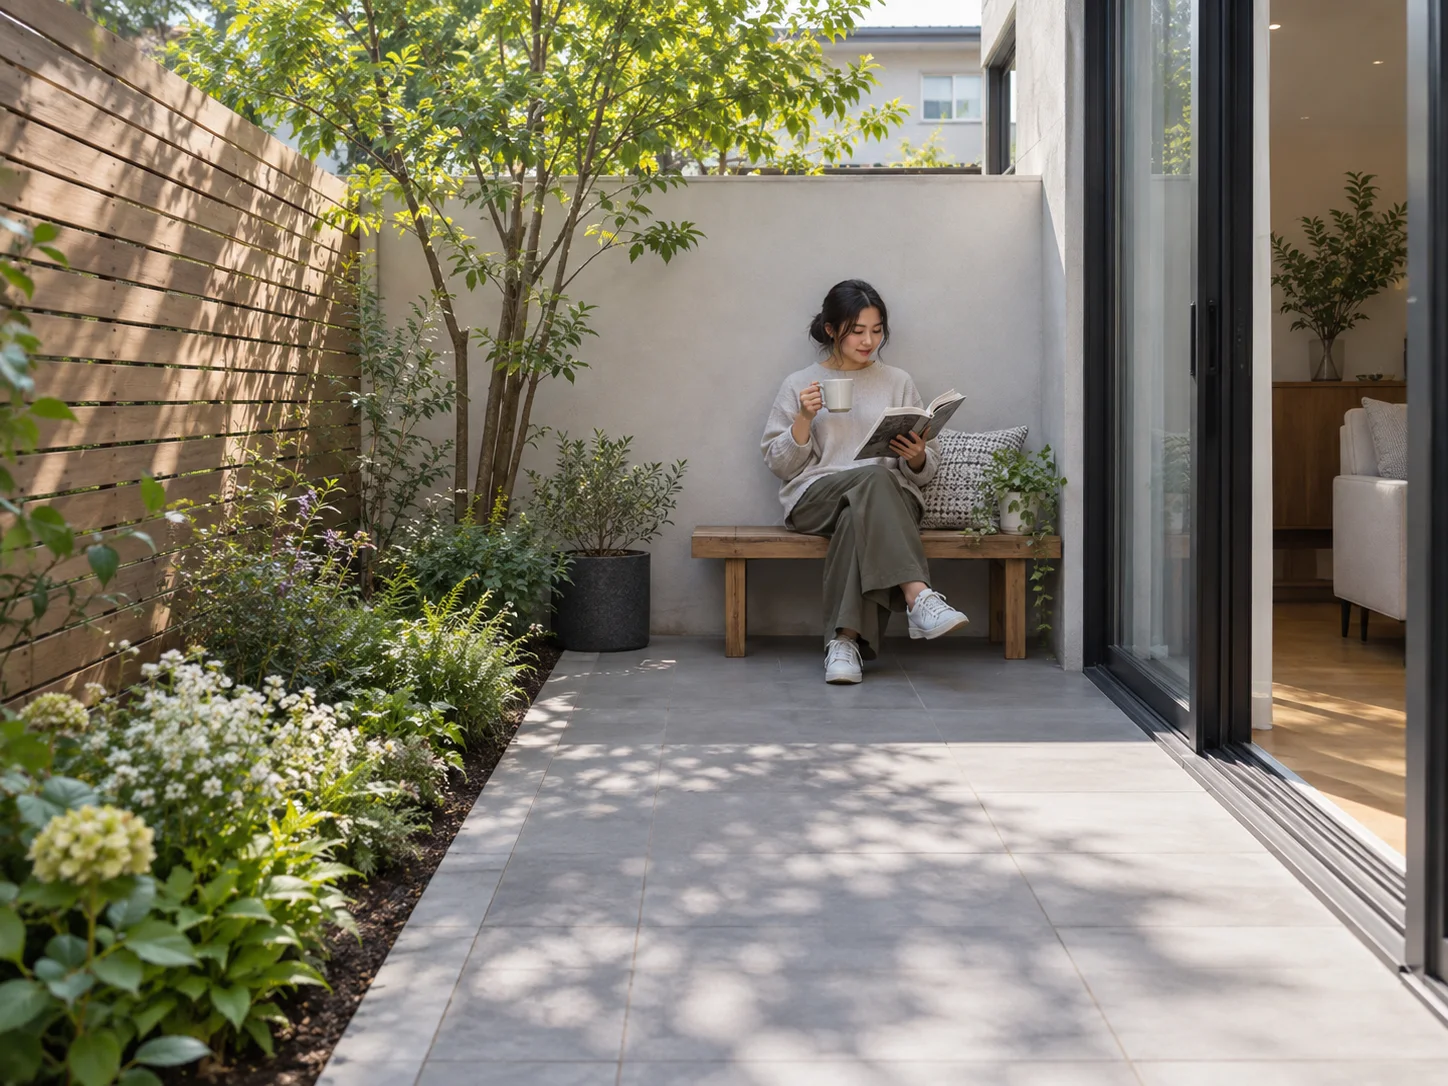
Small garden design works best with fewer competing ideas. Start with one feature you want to enjoy, such as a bench, a planted view from the kitchen, or a route to the rear gate. Ask for a design that leaves that purpose visible. Compare a fuller planting treatment with a simpler one and see which gives the space a calmer feel.

For a front garden, the entrance is part of the design. Include the doorway, path, and lower windows in your photograph. Explore planting that frames the approach, or try a more structured arrangement if the current space feels scattered. The preview is useful for discussing the character of the entrance.
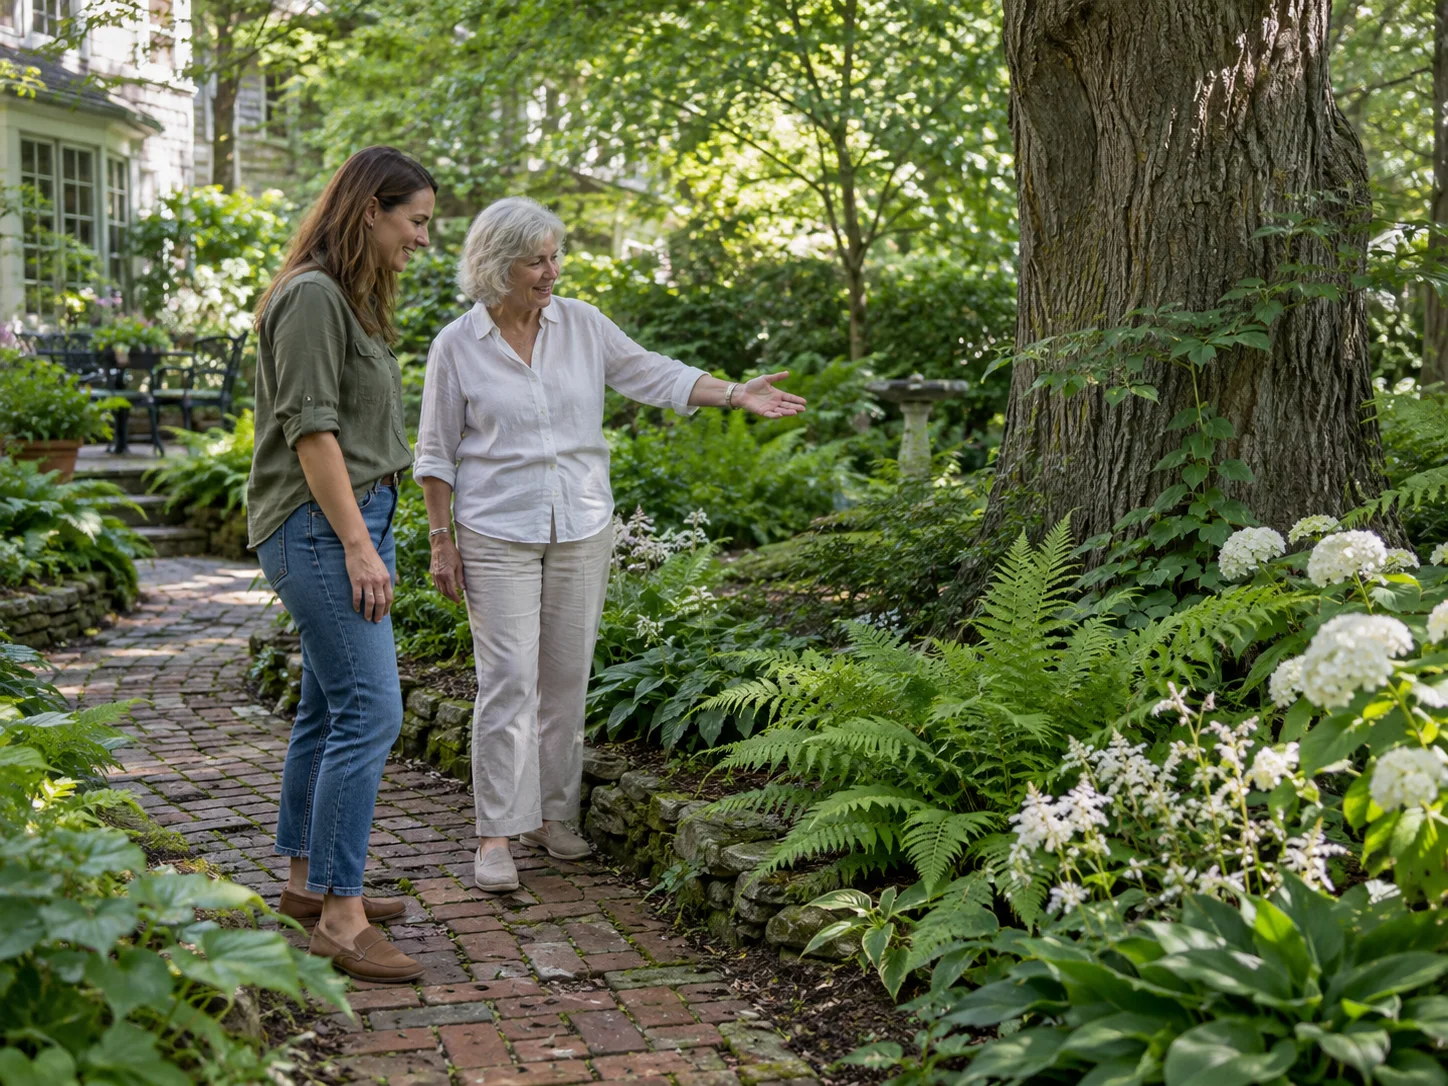
You may already have a tree, hedge, or path that gives the garden its character. Begin by naming those features in the prompt, then describe the area that feels unfinished. A garden design does not have to imply replacing everything. Use a preview to explore a new planting edge, a different seating atmosphere, or a clearer visual connection between existing elements.
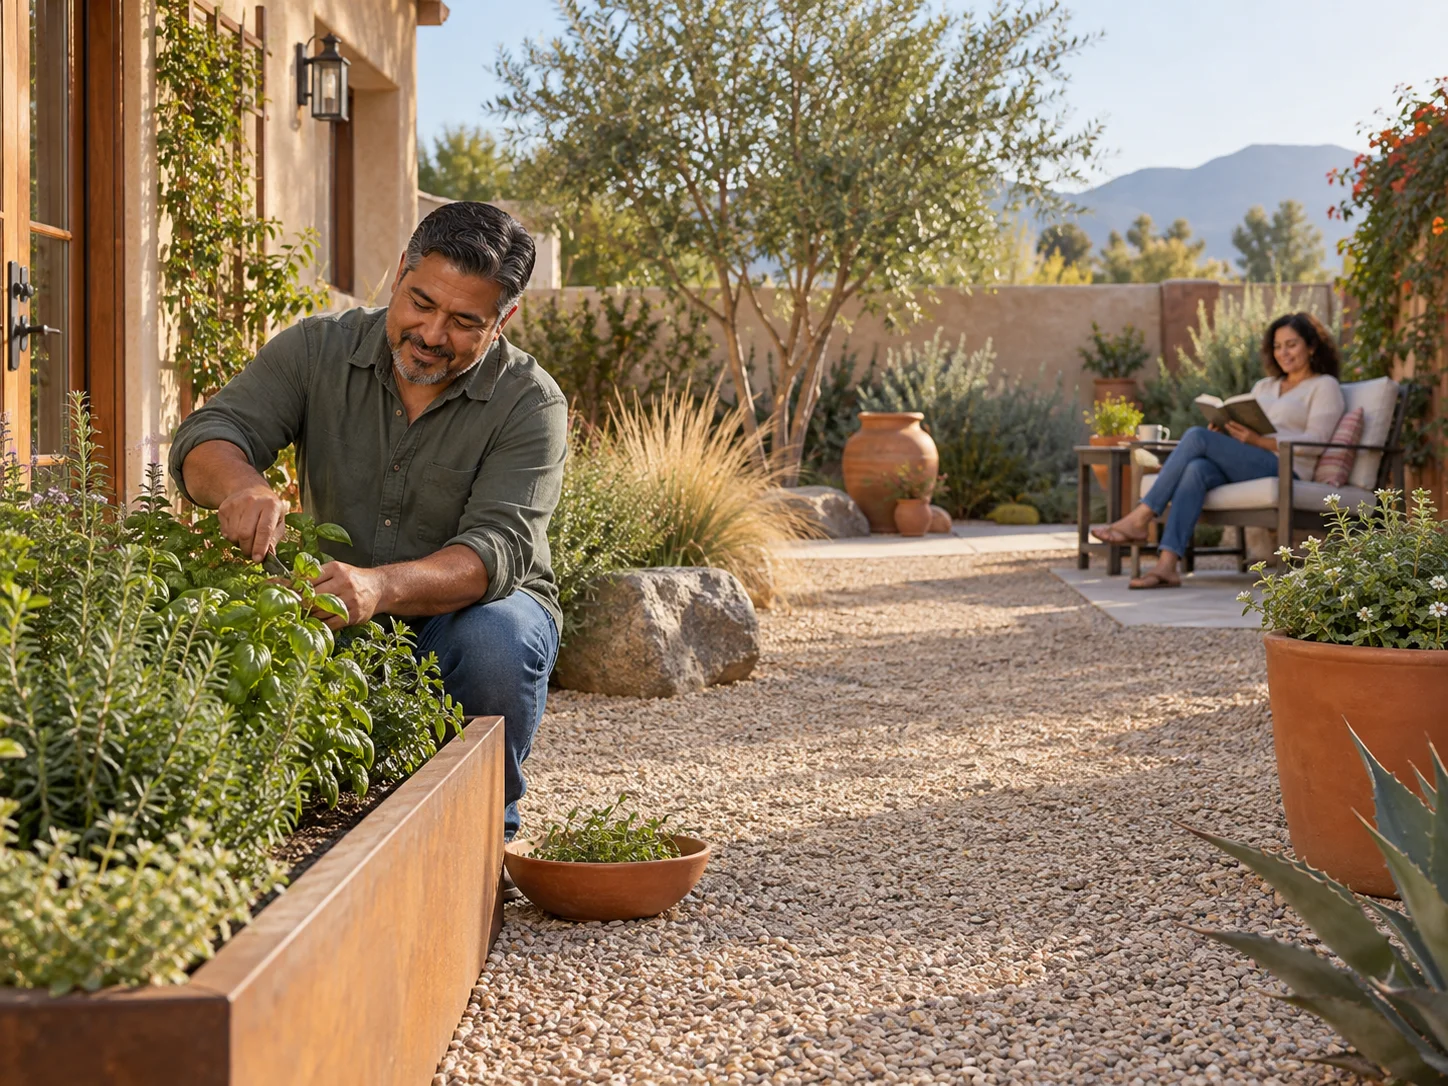
Explore a simpler mix of planting and open space before changing the garden. Use the image to discuss the look, then choose suitable plants for local conditions. Start with the areas that take the most time to maintain. Keep access clear and leave room for routine garden jobs. A simpler image can also make priorities easier to explain.
Example testimonials with fictional names, illustrating possible uses of the tool.
Common questions about creating and refining garden concepts from a real outdoor photo.
It creates visual concepts from an outdoor photograph and your selected settings. You can explore styles, planting density, and written ideas, then refine a result with editing tools.
Yes. Start with the mood and purpose you want: softer boundaries, a quiet place to sit, or a more open garden.
The editor includes selection tools and a Remove workflow, along with text-based editing. Use these to focus an adjustment and inspect the result afterwards.
Use the backyard design page when your biggest question is how to arrange several outdoor activities. Choose the patio designer page when you want to focus on paving, seating, and the area beside the house.
Mention the feature in your prompt and check it after generation. Keep the original photo beside the result because AI may reinterpret parts of the scene.
Yes. Download the concepts that best express your idea. Save the original photo as well, so later conversations keep the existing garden in view.
No. The image supports early choices and discussion. It does not assess drainage, construction, plant health, or local requirements.
Choose a view of the space you want to improve. Explore a style, describe what matters, and create a visual direction you can discuss and refine. Your next garden decision can begin with the place you already have.
Try AI Garden Design!
I used this page to compare a cottage border and a cleaner modern layout. The two versions made our first choice much clearer.
The photo workflow let me test a new path around the tree without redrawing the space. I could explain the idea to my family in minutes.
I tried two planting densities on the same photo. Seeing them in context was more useful than saving another folder of inspiration images.
The editor helped me change one distracting detail while keeping the main idea. That saved me from starting the whole concept again.
I downloaded two options and added notes about what I liked. The images gave our contractor a clear starting point for the discussion.
The result was useful for an early conversation. I still checked measurements and site details before making any practical decisions.
I used this page to compare a cottage border and a cleaner modern layout. The two versions made our first choice much clearer.
The photo workflow let me test a new path around the tree without redrawing the space. I could explain the idea to my family in minutes.
I tried two planting densities on the same photo. Seeing them in context was more useful than saving another folder of inspiration images.
The editor helped me change one distracting detail while keeping the main idea. That saved me from starting the whole concept again.
I downloaded two options and added notes about what I liked. The images gave our contractor a clear starting point for the discussion.
The result was useful for an early conversation. I still checked measurements and site details before making any practical decisions.
I used this page to compare a cottage border and a cleaner modern layout. The two versions made our first choice much clearer.
The photo workflow let me test a new path around the tree without redrawing the space. I could explain the idea to my family in minutes.
I tried two planting densities on the same photo. Seeing them in context was more useful than saving another folder of inspiration images.
The editor helped me change one distracting detail while keeping the main idea. That saved me from starting the whole concept again.
I downloaded two options and added notes about what I liked. The images gave our contractor a clear starting point for the discussion.
The result was useful for an early conversation. I still checked measurements and site details before making any practical decisions.